My father-in-law moved in with us two weeks ago. He is a lovely kind man in his late eighties and it’s a pleasure having him around.
He has Alzheimer’s and needs someone around him all the time during the day. We’re managing this OK while juggling the needs of the business. Unfortunately he can sometimes wake up in the middle of the night in a state of anxiety because he doesn’t know where he is. This means that Sheila and I can’t get out to the local for a quick pint even after he’s gone to bed.

Enter the lazy programmer…
There’s nothing like the prospect of a pint to stir the motivations of a hacker! I had a Raspberry Pi lying around the house. I’d been looking for an excuse to mess around with push notifications on the iPhone for a while, and I thought I could rig something up that would send a push notification to our phones if he left his bedroom during the night.
Internet of things mats

Our local electronics retailer Maplin sells a pressure mat – it’s a simple switch designed to be placed under a doormat. Hooking this up to a GPIO pin on the Pi would allow me to send a notification to our phones using Apple’s Push Notification Service. Here’s the general flow:
Pressure mat -> Raspberry Pi -> Apple Servers -> our phones
Not the most complicated of hacks by any means, but if it was going to allow us to get out for a pint it would be worth it.
Setting up the Pi
I bought the Pi two years ago with the aim of doing a bit of tinkering over Christmas, before realising that, although the Pi is an amazing platform at an amazing price, it’s still a Linux box and I didn’t want to be tinkering with .conf files to get things working over my Christmas holidays. But I’d been feeling vaguely guilty that this credit-card sized wonder was sitting gathering dust while kids a quarter of my age around the world were using it to achieve amazing things.
I downloaded the Raspbian Linux distribution from the Raspberry Pi website – choosing the Raspbian Jessie Lite distribution as I didn’t need any graphical niceties. I was hoping I could just boot up the Pi and get its IP address from the local network but ping 255.255.255.255 didn’t show anything up and my Apple AirPort Extreme router, although rock solid and wonderful in many ways, doesn’t show a list of ethernet clients, so I had to hook up a HDMI cable to finish the setup. Setting a static IP was a bit of a pain as the network stack changed significantly last year and most of the links I found had outdated information, but there’s a very comprehensive thread on StackExchange which explains what you need to do to dhcpd.conf (note to self, recent distros include a zeroconf implementation so you should be able to do something like ssh pi@rasbperrypi.local and it should get you in to a Pi with a fresh OS install)
Processing a push notification with an iOS device
This was actually the easiest bit of the whole process. Apple’s docs on push notifications are really good.
Here’s the entirety of the code of the iOS app, pretty much taken verbatim from Apple’s example code:
- (BOOL)application:(UIApplication *)application didFinishLaunchingWithOptions:(NSDictionary *)launchOptions {
    // Override point for customization after application launch.
    // bitwise OR to include all notification types
    UIUserNotificationType types = (UIUserNotificationType) (UIUserNotificationTypeBadge |
                                                             UIUserNotificationTypeSound | UIUserNotificationTypeAlert);
    //register these notification types
    UIUserNotificationSettings *mySettings = [UIUserNotificationSettings settingsForTypes:types categories:nil];
    [[UIApplication sharedApplication] registerUserNotificationSettings:mySettings];
    // Register for remote notifications -- this will prompt the user to allow notifications
    [[UIApplication sharedApplication] registerForRemoteNotifications];

    return YES;
}

-(void)application:(UIApplication *)application didRegisterForRemoteNotificationsWithDeviceToken:(NSData *)deviceToken
{
    //triggered when user allows notifications
    //Log the token
    NSLog(@"device token: %@",deviceToken);
    // Also store the token in NSUserDefaults
    NSUserDefaults *defaults = [NSUserDefaults standardUserDefaults];
    [defaults setObject:deviceToken forKey:@"deviceToken"];
    [defaults synchronize];
}
I wrote the device token to NSUserDefaults in case I wanted to display it in the app, but I took the lazy way out and just printed it with an NSLog statement, so I could copy it into my Python script.
Sending a push notification with a Python script
Here’s my Python script that detects someone stepping on to the mat, and which sends a request to Apple’s APNS server:
import RPi.GPIO as GPIO
import time
import datetime
import socket
from apns import APNs, Frame, Payload

GPIO.setmode(GPIO.BCM)
GPIO.setwarnings(False)

# our pressure mat is connected to GPIO pin 18
button = 18

# setup the pin as input, and enable the pullup resister
# this means when the switch is pressed, it will read GND, i.e. False
GPIO.setup(button, GPIO.IN, GPIO.PUD_UP)

# insert the tokens you NSLogged from your iOS app here - long lines of hex
token_hex = ''
sheila_token = ''
# setting the payload here - we just want the default sound, and we don't care
# what the badge says so we'll just set it to 1 each time
payload = Payload(alert="Joe is on the move!", sound="default", badge=1)

# run in an infinite loop
while True:
    # if switch is pressed (reading False - see note on GPIO.setup() above)
    if GPIO.input(button) == False:
        #logging for debugging
        print str(datetime.datetime.now()), "button pressed"
        #create the push notification object
        apns = APNs(use_sandbox=True, cert_file='push-notification-cert.pem', key_file='push-notification-key.pem')
        time.sleep(1)
        # wrapping this in a try/except block as the script was occasionally
        # barfing on a socket error
        try:
            apns.gateway_server.send_notification(sheila_token, payload)
        except socket.error, (value, message):
            print str(datetime.datetime.now()),"Socket Error", message
            #recreate the apns object
            apns = APNs(use_sandbox=True, cert_file='push-notification-cert.pem', key_file='push-notification-key.pem')
        time.sleep(1)
        #we're done with Sheila's phone, now let's do the same for mine
        try:
            apns.gateway_server.send_notification(token_hex, payload)
        except socket.error, (value, message):
            print str(datetime.datetime.now()),"Socket Error", message
        time.sleep(10)
Apple recently changed their push notification protocol to a brand new version, which I tried to connect to using a Python HTTP/2 library called Hyper – it’s labelled as a ‘very early alpha’ and it may work very well but after a few hours of trying to create the HTTP/2 request I was still getting errors so I used a library that uses the old protocol called PyAPNS which worked fine although I had to insert a few sleep() statements to avoid some socket errors. I also had to do some fandangling with the push notification certificate, splitting up the .p12 file into a certificate and key in Keychain Access to use with the script.
My Linux skills are a bit rusty so it took a while to remember to type screen then <CTRL-A> d to detach a separate terminal which would run even after I logged out of the SSH session.
It works!
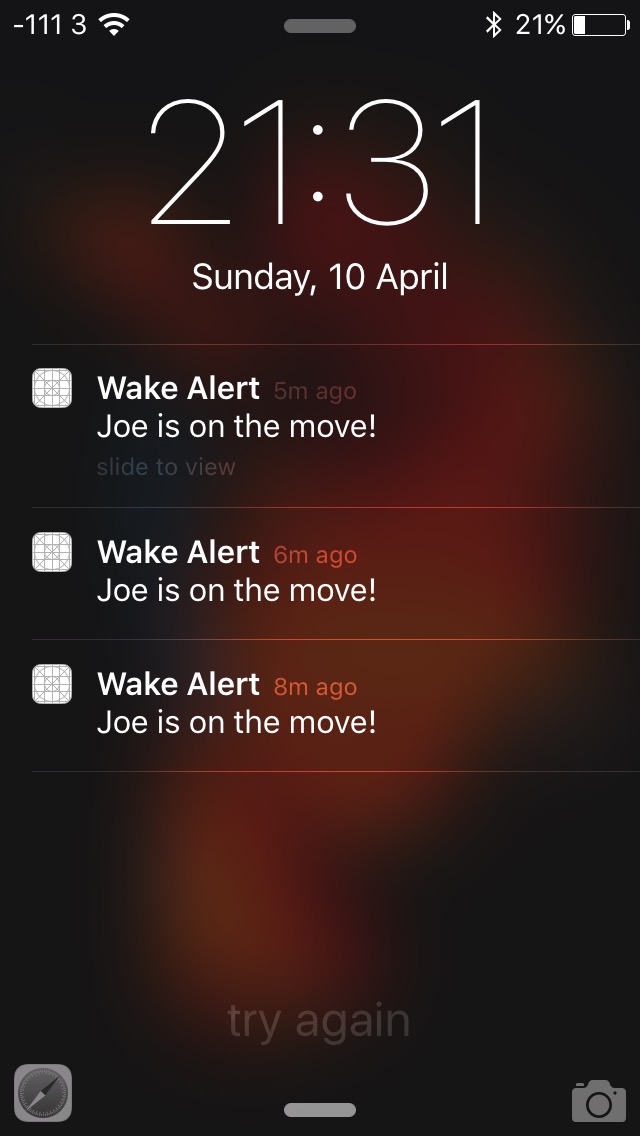
For all the ugly hacking, it seems to work! Sheila and I can nip down for a quick pint to our local knowing that we can quickly return home if her dad starts wandering.
Further work
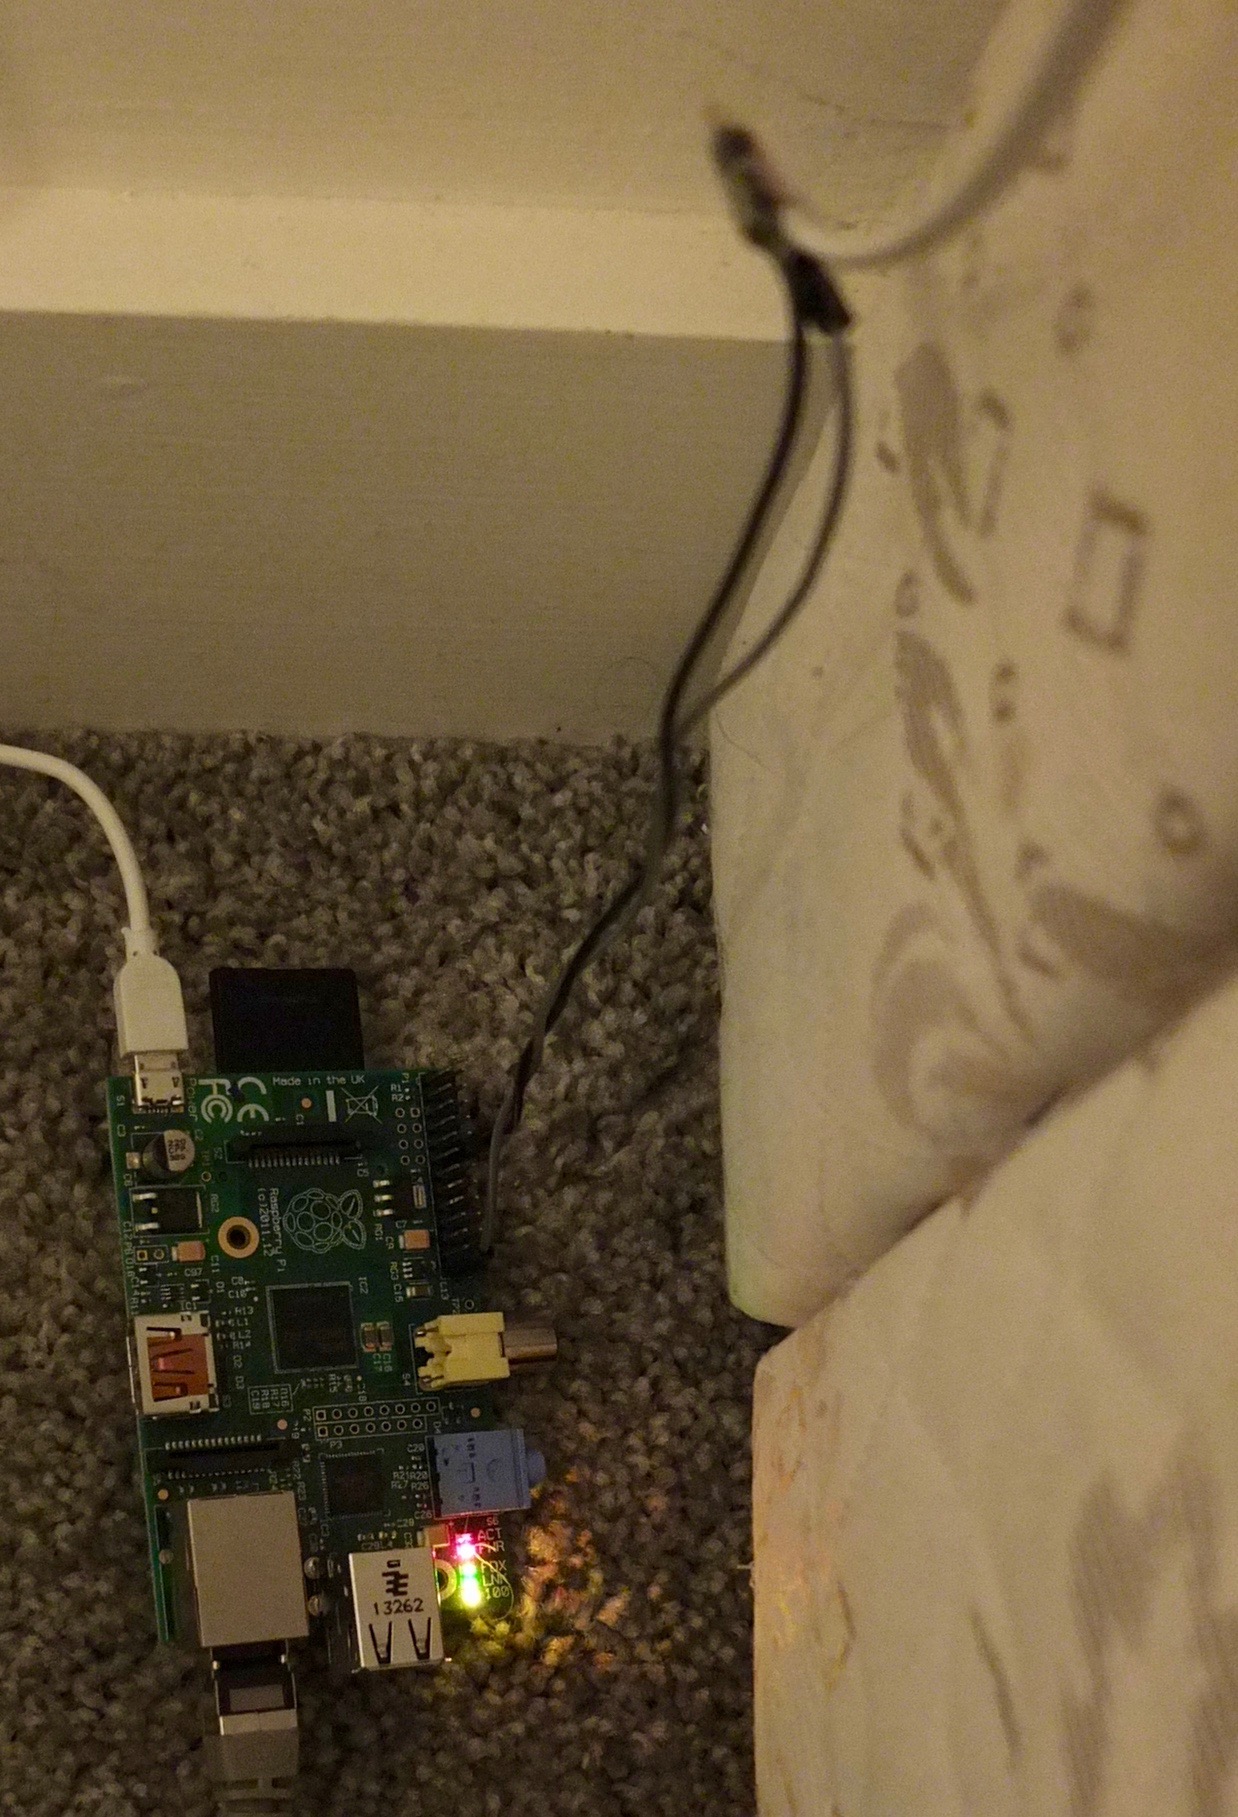
I spliced in an old telephone cable to connect the pressure mat outside the door with the Raspberry Pi beside my bed. I was in a rush so I used sellotape! Aside from tidying that up into something a little less ugly, here’s the things I’d like to do next with the project
- Replace the Raspberry Pi with something like an ESP8266 module that could run off a battery, so I don’t need trailing wires. This post from Stavros Korokithakis shows how he recreated an Amazon Dash button using an ESP8266 looks promising.
- Using the ESP8266 would mean that I would have to handle the push notification logic on an external server, so that the ESP8266 would send a HTTP request to a Flask server which would send the request to Apple.
- Having the logic on the server means that I could log the data to a database, which means we could track how often the night interruptions were happening.
- which reminds me I should enter some logic so that the script only does push notifications and logging at night, sometimes when we’re going in and out of his room to do washing our phones go crazy!

One thought on “Escape to the pub with a Raspberry Pi, a pressure mat and push notifications”
Comments are closed.